


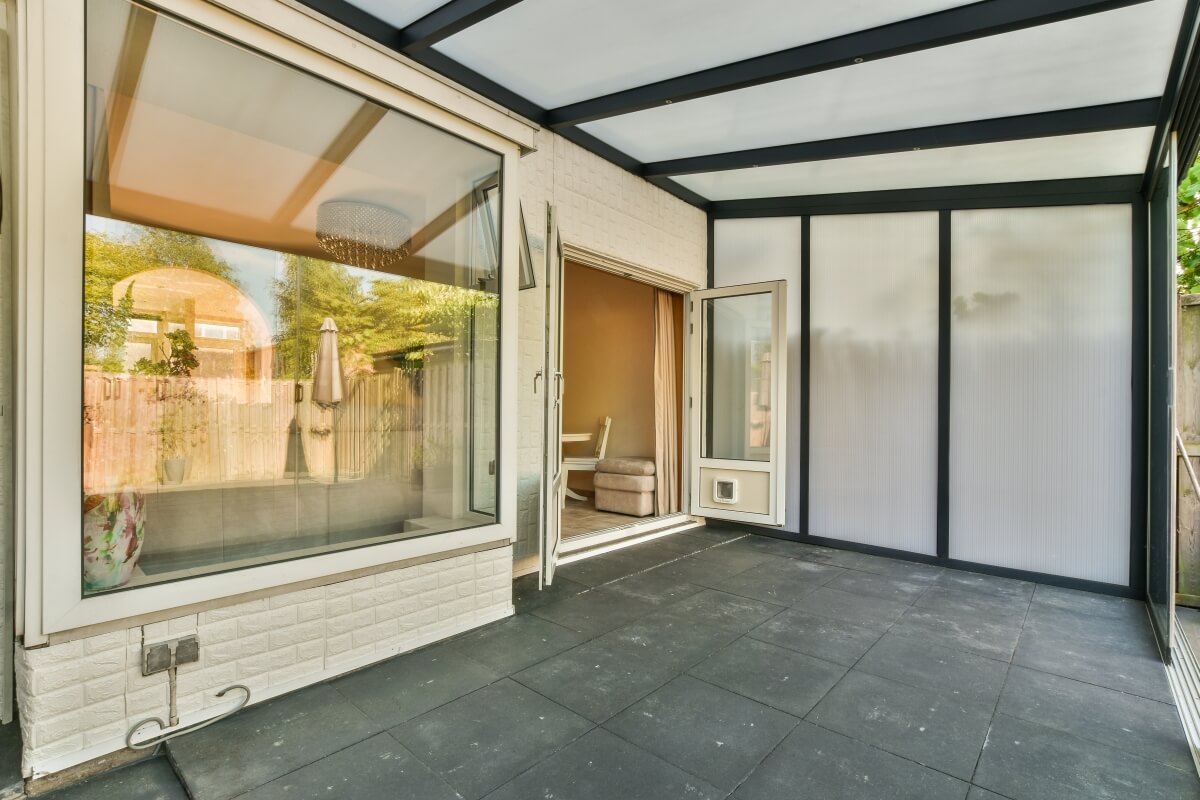
Louvre canopies have an advantage over traditional canopies because, thanks to their adjustable louvres, they allow you to control shade, ventilation and the amount of light entering the space all within a single system. Compared to a polycarbonate or metal sheet roof, they reduce heat build-up beneath the canopy and allow natural light to enter the interior without creating a greenhouse effect. When the slats are closed, water is channelled through the profiles to the posts and drains, rather than running off a fixed roof covering with a constant slope.
Why do louvre canopies come into their own where a traditional canopy limits the functionality of a terrace?
Louvre canopies are canopies with movable or fixed louvres that allow you to adjust the shade, airflow and light without adding another structure overhead. In practice, this means that a single system achieves what would otherwise require roller blinds, awnings or additional side blinds with a conventional canopy.
At Dąb Gaj Wood, I most often install them for customers who want to use their terrace in all weathers, but don’t want to enclose the space permanently.
The biggest advantage is that system canopies It is designed as a mechanism, rather than simply as a roof with a covering. With a conventional roof (polycarbonate, metal roof tiles, bitumen shingles or ceramic tiles), you have only one option: it’s always light or always dark, always dry, but often stuffy.
With the slats, you can adjust the opening angle, and this really does make a difference to your comfort whilst barbecuing, at the dining table and by the living room windows.
The difference is also evident in the structural details, as slatted designs require a rigid frame and precise assembly. The 18×18 cm support post is not merely decorative here, but a component that maintains the structure’s geometry when the wind tries to twist the entire pergola. If the frame settles or warps even slightly, the slats start to rub against each other, and the rotation mechanism does not operate smoothly across the entire width.
What are the benefits of adjustable slats in slatted roofing compared to a polycarbonate or metal sheet roof?
Adjusting the slats allows you to control the microclimate on the terrace – something a traditional canopy cannot achieve without additional shading. When the slats are tilted, air escapes upwards and heat does not build up under the roof, as it does under multi-wall polycarbonate or sheet metal.
This is the moment when, after the first heatwave, a customer tells me that it’s finally possible to sit on the terrace at midday.
In practice, the slat acts like a roof blind: you adjust the angle to block out the harsh sunlight whilst still letting daylight into the living room. With a fully covered roof (e.g. bitumen shingles on a timber or board underlay), you have shade all the time, which often means you end up having to light the terrace with lamps even during the day.
Venetian blinds can be used to create partial shade, and this is the most underrated feature in homes with large south-facing windows.
From a technical point of view, the key factor is how the water drainage is organised. In a traditional canopy, the pitch is constant and water runs down the covering into the gutter, whereas with slats you have two modes: open for ventilation, closed for rain, where water is channelled through the profiles to the posts and on to the drain.
When carrying out the handover, it’s worth checking whether the contractor has carried out a test with the hose: not just a trickle, but a steady stream for a few minutes, as this is the only way to spot any imperfections in the levels and joints.
- If the terrace is adjacent to the kitchen or living room, adjusting the slats allows you to maintain the brightness of the interior without the ‘greenhouse effect’ often caused by polycarbonate. This translates into greater comfort and less heat build-up in the rooms when the windows are closed.
- If the terrace is situated in a wind tunnel between buildings, tilting the slats allows the gust to pass upwards rather than causing the roof to act like a sail. This is no substitute for good anchors, but it does significantly reduce the force exerted on the structure.
What design flaws most commonly spoil the premium look of louvred awnings and standard canopies?
More often than not, it is not the material that spoils the premium finish, but the geometry and the foundations, as both aspects are less forgiving than people realise. In a classic canopy, a crooked post can sometimes be concealed by finishing work or a ceiling lining, but with slats, every millimetre becomes apparent when the mechanism is in operation.
That’s why I always start by checking the diagonals, the levels and whether the sub-base has been freshly laid and is still soft.
The most costly mistake is installing posts too close to the ground or without a proper anchor. A galvanised anchor (corrosion-protected steel) is designed to keep the timber above water and snow, rather than merely acting as a connector to the concrete; if the base stands in a puddle, moisture penetrates the surface of the fibres and degradation begins after 2–3 seasons.
For ground-level terraces, I lay point foundations where the posts are to be positioned and ensure that the slope of the surface directs water away from the base of the structure.
The second mistake is selecting cross-sections by eye. The main beam and the transom in the roof structure must bear snow and wind loads, and with a larger span there is no room for compromise: this is where BSH GL24 SI laminated timber (strength class GL24, dimensional stability) has the edge over ordinary sawn timber.
KVH (solid, kiln-dried structural timber joined with micro-dowels) is also excellent, but for long elements exposed to the sun, BSH maintains its straightness more reliably, which, in the case of slats, directly translates into smoother operation.
The third mistake is to ignore steel fasteners and their protection. Steel fasteners, structural screws and mounting plates must be suitable for outdoor use, as ordinary galvanised small parts can rust over the years at the cut-off points and threads.
When inspecting the roofing around the house, I always check for water bridges as well: wherever water is likely to pool at the junction between wood and metal, you either need to change the fitting or add a spacer and a seal.
What should the structure be made of, and how should louvre canopies be maintained so that they look as good as new after three seasons?
The structure should be made of BSH GL24 SI or KVH structural timber, and the finish must be based on oils and wood stains that work in harmony with the wood, rather than forming a hard crust like varnish.
Scandinavian spruce is stable and predictable to work with, whilst larch offers naturally greater durability, but can warp more and exude resin when exposed to the sun, so the choice of coating system is all the more important.
If an investor wants a premium look that will last for years, I look not only at the timber grade, but also at whether the pieces are planed and chamfered, and how the ends of the beams are protected, as that’s where the wood absorbs the most moisture.
OSMO Oil Extra is an oil-based system that penetrates the structure of the fibres and does not flake off like a varnish coating, so renovation is simpler and more predictable. In practice, after 2–3 seasons, you don’t need to carry out a complete refurbishment; you simply wash the surface, lightly sand down any areas where the sun has bleached the pigment, and apply another coat to clean, dry wood.
I apply OSMO UV-Schutz-Öl to parts that are exposed to strong sunlight, as the UV filter really does slow down greying and colour loss, particularly on south-facing façades.
With louvre roofs, there is one further consideration: the cleanliness of the mechanical components and drainage system. If leaves and dust from the roof become trapped in the gutters, water starts to find its way round the sides, and the customer gets the impression that the system is leaking, even though the problem lies with the maintenance.
An inspection twice a year is sufficient: before the season and after the season, checking that the fastenings are tight, that the slats are working properly and that the drains in the uprights are clear.
- Ask the manufacturer how they protect the ends of the beams and the cut surfaces on site, as these are the areas that absorb water most quickly and where any negligence becomes apparent first. A good team has a set procedure: cut edges are immediately coated with OSMO, rather than being left until later.
- Ask for details of the mechanism’s maintenance schedule and which parts are subject to wear and tear. If someone tells you that nothing needs to be done, it usually means that nobody has given any thought to how the design will perform after a few winters.
Does the installation of louvre canopies involve any additional formalities, and what is the process like, from taking measurements to final handover?
The administrative requirements depend on the dimensions and the type of foundation, but louvre canopies are not automatically any easier or more difficult to install than a traditional canopy. A domestic canopy can often be erected simply by submitting a building notification, but for larger structures or those in unusual locations, a planning permission may be required, so you should check local requirements and distances from plot boundaries before placing an order.
I always ask the client for a site plan and details of whether the terrace is on a concrete slab, on posts or directly on the ground, as this determines the type of foundations and the documentation required.
The installation process should begin with taking measurements and determining the slopes and anchor points, as without this, even the best system will not function as it should. Next comes the design: the spacing of the posts, the layout of the main beams, the orientation of the slats in relation to the sun and wind, and the method of water drainage; only then should the choice of finish and colour be considered.
There are two crucial steps in the installation process that are not visible in the photographs: levelling the structure on its anchors and checking that the slats operate correctly across the entire width before the team fits the cover panels.
If you want a canopy that actually works for your terrace, rather than just covering something, start by discussing how you use the space: when you sit outside, which way the wind blows and how strong the sun is. This sort of discussion allows you to choose the orientation of the slats, the height of the clear opening and any side screens, rather than having to resort to roller blinds or an awning later on.
To discuss the specific choice of solution and the installation date, it is best to contact Dąb Gaj Wood, because it is only once you are on site that you can tell whether a freestanding structure or one integrated into the building will be better.
Read also: Would wooden plank structures be suitable for a plot of land?
Frequently asked questions
How long does it take to complete a lamella roof from measurement to installation?
You should generally allow 4–10 weeks from measurement to installation, as this includes the design, manufacture of components and logistics. The on-site installation itself usually takes 1–3 days, depending on the size and number of posts and the drainage details. The timeframe is extended if point foundations need to be laid or a power supply to the automation system needs to be installed.
How do I prepare the terrace and the ground for the installation of a lamella pergola?
The ground must be stable and must not have been recently backfilled, as the structure requires its geometry and levels to be maintained. In most cases, point foundations are prepared for the posts, or the load-bearing capacity of the terrace slab is checked at the anchorage points. It is also advisable to ensure that the surface slopes away from the structure so that water does not pool at the base of the posts.
Is a louvre roof watertight in the rain, and how can I check the drainage when inspecting the work?
When the slats are closed, water should be channelled through the profiles to the uprights and on to the drain, but watertightness depends on the levels and correct joints. At handover, ask for a test with a hose: a strong jet for several minutes, rather than a brief spray. If water seeps through, this is usually due to minor deviations in the level or blocked drainage channels.
BSH or KVH – which should you choose for a slatted structure, and why does it matter?
For longer and more exposed components, BSH GL24 SI generally offers greater dimensional stability, which helps to ensure the slats continue to operate smoothly. KVH is also a good choice, but with large spans and strong sunlight, the wood is more likely to warp and requires greater care in selecting cross-sections. In practice, it is worth basing your decision on the span, the wind zone and how precisely the mechanism needs to operate.
How often does a wooden structure with a louvre roof need to be maintained?
In most cases, it is sufficient to wash the wood every 2–3 seasons, lightly sand down any areas bleached by the sun, and apply another coat of oil to the dry wood. It is worth providing additional protection for parts exposed to strong sunlight with oil containing a UV filter, as this slows down greying and colour loss. Regardless of the finish, check the mechanics and ensure the drains are clear twice a year, as this is the most common cause of problems after the season.