


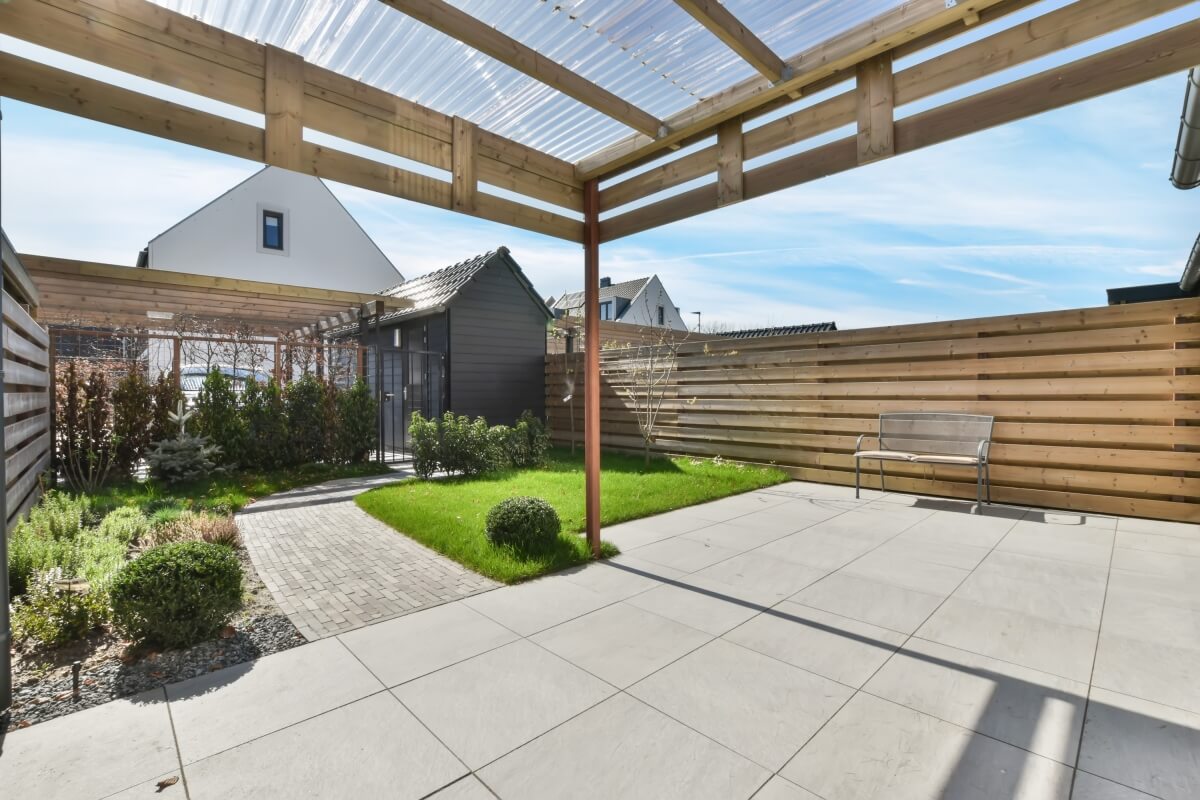
System-based louvre canopies are not difficult to install, provided the substrate is load-bearing and level, and the frame’s verticals and diagonals are correct. The difficulty mainly arises during foundation work and anchoring to structural concrete, as even a few millimetres of geometric error can cause resistance in the slats and problems with water runoff. No specialist tools are required for installation, but precision is essential: a laser, correct anchoring, torque control and proper adjustment of the rotation mechanism.
Modular louvre canopies and installation in practice: what’s straightforward, and what might take you by surprise
System-based louvre canopies are not difficult to install provided the substrate is prepared to the nearest millimetre and the team follows the sequence of works and the manufacturer’s instructions. Most problems do not stem from the structure itself, but from errors during the foundation, anchoring and frame alignment stages, as a louvre roof is less forgiving than a traditional polycarbonate or metal-tile roof.
At Dąb Gaj Wood, we fit these canopies so that, after the first winter, nothing sags and the mechanics operate just as smoothly as they did on the day of handover.
If you want to understand where the differences in assembly between off-the-shelf solutions and premium-class designs come from, start by looking at how they are designed system canopies and what the manufacturer specifies in terms of the details of the connections. A systematic approach here refers not only to standardised profiles and slats, but also to a complete set of fasteners, guides, seals and the specified operating tolerances.
In practice, the more refined the system, the less improvisation there is on site — but the demands regarding flatness and verticality are increasing.
What determines whether the installation of a louvre roof will go smoothly?
Installation goes smoothly when the structure is firmly supported, levelled and its diagonals are correctly aligned, because a slatted roof functions like a precision mechanism, not simply planks fixed with screws. Three things are crucial: preparing the sub-base (point foundations or a screed), selecting the right anchors and steel fasteners, and checking the frame’s geometry before fitting the slats.
If the frame is warped by even a few millimetres, the slat may encounter resistance, and the water will not run off where it should.
The most common mistake is anchoring to a decorative paving stone rather than to load-bearing concrete, which causes micro-movement after the season and throws the adjustment out of alignment. A galvanised anchor (or a stainless steel one in harsh environments) must be embedded in the concrete to the correct depth, rather than in the ballast layer or a thin terrace slab.
Whether using 18×18 cm timber support posts or aluminium system profiles, the principle is the same: a stable point of support and the prevention of capillary water rise; therefore, spacers and washers are used, rather than placing the post flat on the ground.
The efficiency of the installation also depends on whether the client provided accurate measurements and details of any obstacles at the ordering stage: the canopy, guttering, roller blinds, HS doors, ventilation grilles or the slope of the terrace. A louvre canopy has specific mounting zones for the gutter, drains and drive mechanism, so it is sometimes impossible to fix it flush against the wall without modifying the design.
This is not a fault in the system — it is the price we pay for the water being channelled through the ducts, whilst the slat is designed to operate smoothly across the full range of angles.
Do modular louvre roofing systems require special tools and expertise?
Modular louvre canopies do not require any specialised tools, but they do require the level of installation precision typical of joinery and structural work, rather than that of off-the-shelf canopies. You’ll need a decent cross-line laser, a drill with a guide, a torque wrench for consistent tightening, and a concrete anchoring kit, because what matters here is consistent torque and ensuring the profiles don’t twist.
On top of that, there’s the issue of working at height and ensuring the components are securely supported, as the main beam and frames can be quite heavy.
Experience is needed mainly at two stages: when positioning the frame and when adjusting the slats and the rotation mechanism. The rotation mechanism (manual or electric) only works properly if the axes are parallel and the distances between the supports are within tolerance — otherwise, the slat starts to move sideways and you can hear friction.
In practice, the fitter must be able to interpret the system: knowing where to leave an expansion gap and where to fit the joints tightly, as the requirements differ in water-carrying areas and at steel connectors.
If the structure contains wooden elements (e.g. posts or cladding), the issue of structural timber and its dimensional stability comes into play. KVH is solid timber joined using micro-finger joints and kiln-dried, which maintains its properties better than ordinary sawn timber, but still undergoes greater seasonal movement than BSH GL24 SI.
BSH GL24 SI is a laminated timber with a GL24 strength class which, thanks to the gluing process and the selection of the lamellae, exhibits less twisting and cracking; this results in significantly fewer adjustments being required after one year in the areas around the mechanical components and guides.
Which stages of installing system louvre canopies are the most critical?
The most critical stages are those that remain hidden once the work is complete: the foundations, the alignment of the roof structure, and the connection and testing of the drainage system. In a traditional roof made of bituminous shingles, ceramic tiles or metal roof tiles, a minor error is often concealed by the roofing material, whilst in a slatted roof, everything relies on the joints and drainage channels. That is why the sequence of work and checks between stages are more important than the pace of work.
- Foundation and anchoring: point foundations must be in the same plane, and the anchors must be aligned with the axis of the column or profile, as there is no way to compensate for errors without shims and stresses. If the terrace has a slope, this must be taken into account in the design, rather than corrected during installation using random spacers.
- Frame geometry: before fitting the slats, check the horizontal, vertical and diagonal measurements, as these determine whether the slat will rotate smoothly and evenly. In practice, I carry out a check after the initial assembly, after tightening to the correct torque, and after the mechanism has completed its first cycle.
- Drainage and water runoff: the guttering and drainage channels must remain clear, and the drainage system must be able to carry water away even in heavy rain. An incorrectly set gradient or a gutter that has become blocked after installation can cause water to drip from the edge, even though the slat itself is watertight.
Installation against the building’s wall can also be a critical point, as this is where different materials and their functions come together: the façade, insulation, flashings and waterproofing. If the roof is attached to the wall, provision must be made for an expansion joint and a sealing method that does not trap moisture within the insulation layer.
In practice, a solution involving proper finishing and a drip edge works better than applying silicone all round, as silicone deteriorates when exposed to UV light and needs replacing after two seasons.
When is it better to have the installation carried out by a professional, and when can you do it yourself without any risk?
Doing the assembly yourself only makes sense if you have experience with precision assemblies, a level surface and the time to carry out the adjustments at your own pace, because it’s not just about tightening the screws, but about setting up the mechanics and ensuring a tight fit.
When electric drives, wind or rain sensors and wiring are involved, there is a responsibility to ensure correct connections and safety measures, and this usually means working with an electrician. When installing on an existing terrace, the risk increases, as there is often no structural concrete beneath the slab to accommodate the anchors, and that’s when people start improvising.
It makes more sense to commission professional installation when the roofing has a large span, is situated in a high-wind or high-snow area, or is integrated into a building and requires flashings and waterproofing. In practice, these are situations where the finer details determine durability: the choice of steel fasteners, the correct distances from the ground, the absence of thermal bridges, and the correct drainage of water within the system.
If an investor is also planning to install wooden cladding, decking or louvres with a rotating mechanism, it is best to coordinate the dimensions straight away, as alterations are the most expensive part of the project later on.
Administrative formalities can also influence the decision to install the structure: for larger built-up areas, a building notification may be required, and sometimes a planning permission, depending on local interpretations and the structure’s specifications. It is a good idea to ask the manufacturer what drawings and descriptions they have in their documentation and how they envisage the foundations, as the planning authority and the site manager do not like a system without the relevant data.
In practice, having the full set – floor plan, cross-section, anchoring method and description of materials – saves you weeks of stress.
If you want to ensure that, after three seasons, the mechanism continues to operate smoothly and the wood and finishing elements do not become grey or develop micro-cracks, plan your maintenance and servicing straight away.
On wood, OSMO Oil Extra works well as a coating that penetrates the grain, whilst on elements exposed to the sun, OSMO UV-Schutz-Öl reduces UV-induced degradation, meaning that refreshing the finish usually involves simply washing the surface and applying a new coat, without having to strip it back to bare wood.
If you want to go through this process, from design to installation, without having to guess what to do on site, the safest way is to work with a team that assembles such systems on a daily basis and takes responsibility for the finer details — in Dąb Gaj Wood That’s exactly how we work.
Read also: What are the advantages of louvre canopies over traditional canopies?
Frequently asked questions
How long does it take to install a modular louvre canopy, and what factors influence the installation time?
The installation itself, carried out on a prepared, level surface, usually takes 1–2 working days, whilst for larger units or wall-mounted versions, this may take up to 2–3 days. The most common causes of delays are adjustments to the foundations, problems with anchoring to load-bearing concrete, and fitting details against the wall (finishing and sealing). If an electric drive and sensors are included, allow extra time for running the power supply and carrying out functional tests.
How should you prepare the substrate for a louvre roof to avoid problems with the geometry?
The sub-base must provide stable, load-bearing points for the anchors in a single plane, as the frame and slats must be kept level, plumb and with correct diagonal dimensions. The safest options are point foundations or a screed of structural concrete at the fixing points, rather than paving blocks or a thin terrace slab on their own. Before installation, it is worth checking the terrace’s gradients with a laser and incorporating them into the design, rather than making adjustments on site using random spacers.
Is it possible to safely install a louvre canopy on an existing terrace made of paving stones or slabs?
It is possible, but only if there is load-bearing concrete beneath the finishing layer, to which the structure can be anchored to a sufficient depth. If there is a ballast bed or a thin layer beneath the slabs, micro-movements may occur over the course of a season, causing the slats to become misaligned. In practice, this often results in the installation of point foundations for the posts or the preparation of anchorage points in the concrete.
Which type of timber should you choose for timber components: KVH or BSH GL24, and why does this matter when it comes to slats?
KVH is more stable than ordinary sawn timber, but it still undergoes greater seasonal movement than BSH, which, with precision mechanics and guides, may mean more adjustments are required over time. BSH GL24 has less warping and cracking thanks to its laminated construction, so it retains its geometry better around the posts and casings near the mechanism. If you want to minimise adjustments after a year and ensure greater predictability, BSH is usually the safer choice.
How often do you need to treat the wood and service the slat mechanism to ensure it operates smoothly after the winter?
It is advisable to wash wooden elements and refresh their finish usually once a season; in strong sunlight or where they are exposed to rain, check their condition more frequently. In practice, refurbishment often involves simply washing the surface and applying a coat of oil, provided that system-specific wood oils have been used previously and UV degradation has been prevented. It is a good idea to check the mechanism of the slats after winter: carry out a full opening/closing cycle, check for resistance and ensure the drainage channels are clear, as dirt can cause dripping even if the slats are sealed.